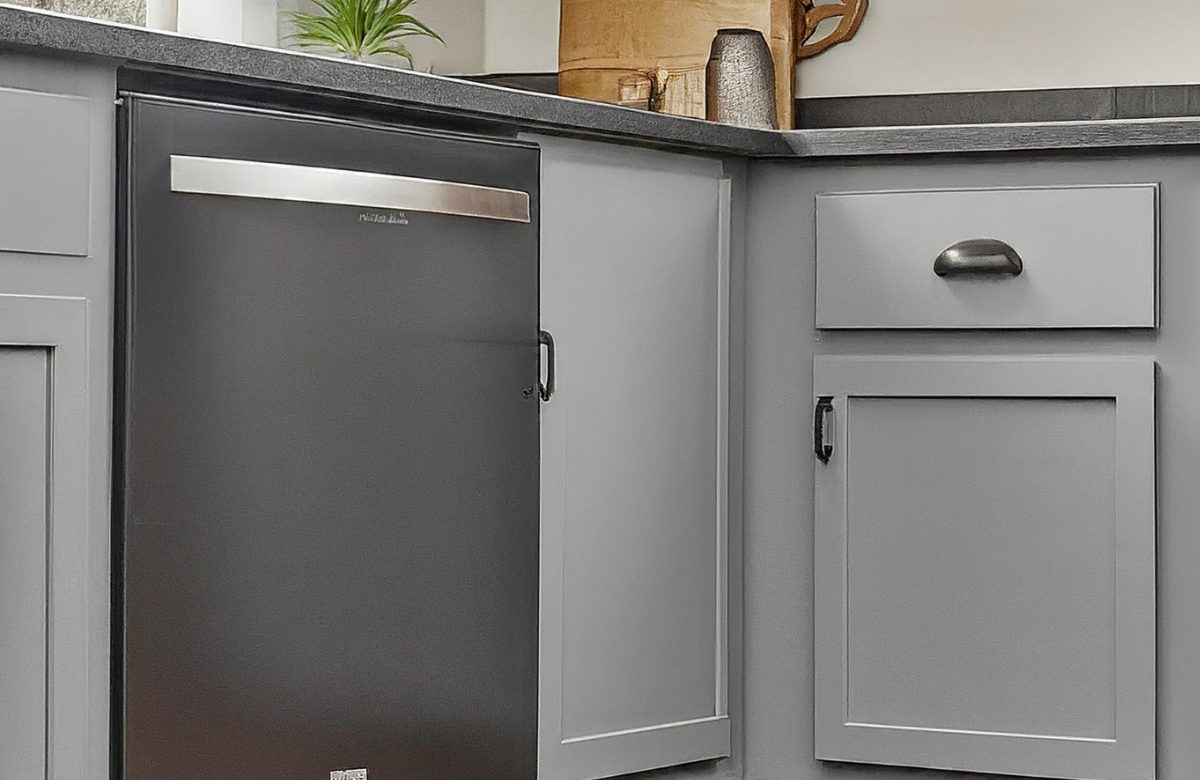
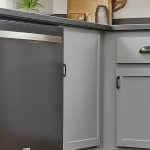
The base is a vital part of kitchen cabinets that protects the structure from accidental liquid spills. At this base, a gap exists between the cabinet and the floor, which, if left unattended, can be unattractive. So, professionals like Granite Nations install baseboards under the kitchen cabinets to add a finishing touch. The base is a vital part of kitchen cabinets that protects the structure from accidental liquid spills. At this base, a gap exists between the cabinet and the floor, which, if left unattended, can be unattractive. So, professionals like Granite Nations install baseboards under the kitchen cabinets to add a finishing touch.
13 Steps On How To Install Baseboard Under Kitchen Cabinets
Homeowners consider installing baseboard molding in the kitchen troublesome because it involves several vital steps. However, if you leave the installation task to professionals, they will get the job done in a minimal time. Additionally, opting for custom cabinets can further enhance the overall look and functionality of your kitchen space.
1. Gather All the Required Tools
The first step is to gather all the tools required for the installation. Although the installation team will have all the necessary equipment and tools, homeowners should also arrange the tools, including:
- 4-in-1 screwdriver
- Air compressor and hose
- Clamps
- Brad’s nail gun
- Various kinds of saws
- Drill bit set
- Paintbrush
- Framing square
- Safety glasses
- Tape measure
- Self-centering drill bit
2. Arrange the Right Materials
Next, you should arrange the suitable materials before starting the baseboard installation for kitchen cabinets. These materials include;
- Baseboards
- Measuring tape
- Miter saw
- Nail gun or hammer and finishing nails
- Level
- Wood glue
- Caulk
- Paint or stain (optional)
3. Taking the Correct Measurement
After gathering all the tools and materials, it would be best to take the correct measurements. Using a measuring tape is the best option because it will ensure accuracy. You should note the measurements on paper, considering the angles and corners.
4. Order the Measured Materials
If you are doing a DIY installation, which is not recommended, you should order the baseboard from reliable suppliers. However, if you have hired professionals to install baseboards under kitchen cabinets, the boards might cut in your home.
5. Cut the Baseboard According to the Measurement
Although many tools can cut the baseboard, the miter saw is the best choice.
- Mark the boards according to the measurements.
- Ask someone else to double-check the measurements.
- Now, cut the baseboard according to the appropriate length.
- You must cut the corners at a 45-degree angle so that the corners can join ideally.
6. Clear Away Everything from the Vicinity
After you have cut the baseboards and before the installation, it’s crucial to clear the area around the kitchen cabinets. This will make the kitchen cabinet baseboard installation process more accessible and hassle-free.
7. Remove the Old and Previous Baseboards
Remove the old boards with a pry bar without damaging the kitchen cabinets.
8. Test the Fitting of the Baseboard
When installing kitchen cabinets over baseboard heating, you should test the fitting to ensure that the baseboards are correctly aligned and there is no gap. Sometimes, adjustments have to be made so that the boards fit perfectly.
9. Slide the Fillers Under the Cabinets
Sometimes, carpenters add fillers before installing the baseboard under kitchen cabinets to provide extra support. Don’t use construction adhesive or glue because removing it might become difficult.
10. Properly Apply the Wood Glue
Apply wood glue or construction adhesive on the baseboard edges and backside. The layer should be thin so that extra glue doesn’t fall out and damage the exterior. This step will help keep the boards in place and secured.
11. Place the Cut Baseboards Under the Kitchen Cabinets
Place the boards carefully on the base and ensure they fit perfectly. Next, use a nail gun to fasten the boards. Keep the nail gun at a specific angle to secure the nails tightly. Place the nails six to eight inches apart.
12. Properly Fill the Gaps
Sometimes, gaps occur between the boards. You can fill these gaps with wood filler. You can use a putty knife to apply the filler and level it for proper baseboard installation under kitchen cabinets.
13. Apply the Finishing Touches
The last step is to apply finishing touches to the baseboard. You can use chalk to the edges and nail holes to fill the gaps. You can also use a damp cloth to smooth the excess chalk.
Conclusion
Follow these steps to install a baseboard correctly under kitchen cabinets. Consider these steps when working on DIY projects or professional installations. You can hire experts like Granite Company for a professional installation.
Frequently Asked Questions
How do you fit baseboards in a kitchen?
You should measure the baseboards, cut the desired measurements, apply wood glue, and secure them with nails. These are the steps to install the baseboard under kitchen cabinets.
Is the baseboard glued or nailed?
You can secure the baseboards using nails or glue. First, apply wood glue, then use nails to secure it tightly.
What is the baseboard in the kitchen cabinets?
The baseboards are molding or trim installed at the cabinets’ base or bottom.

