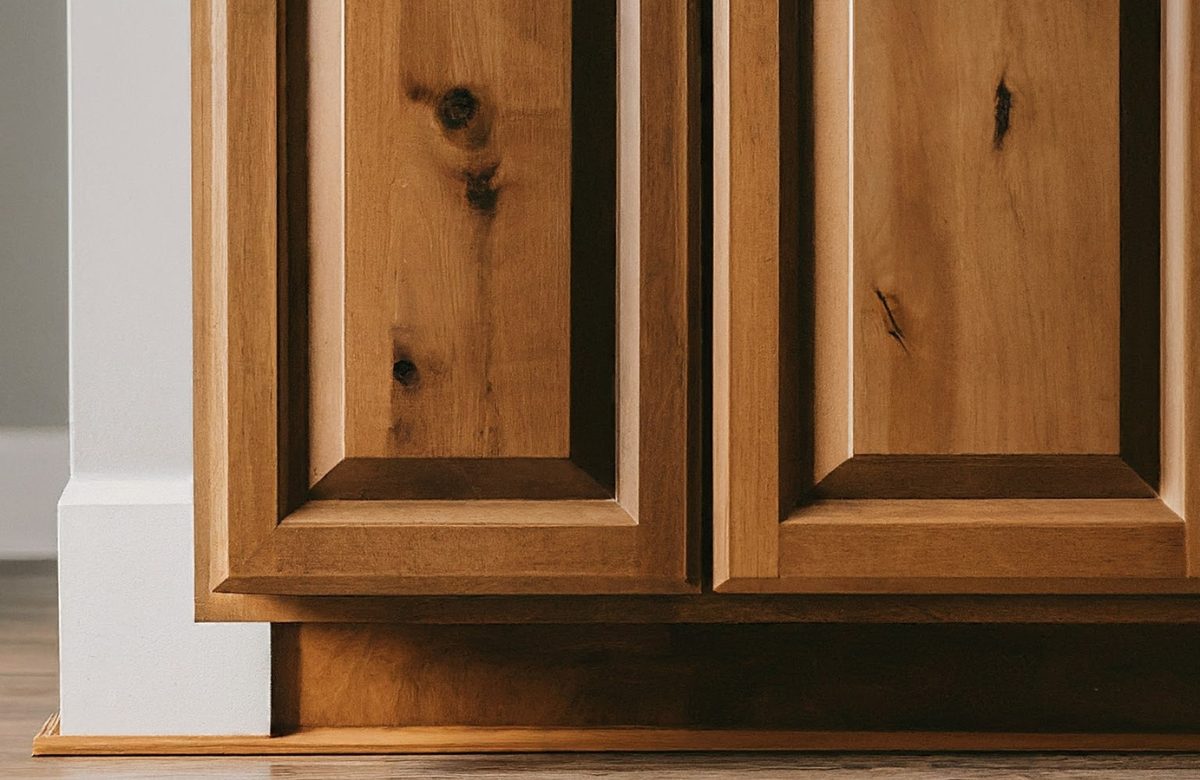
Our toes stick out in front when we stand, so kitchen cabinets have a space at the bottom called a toe kick. It’s usually 3 inches deep and 4 inches high. This part is left uncovered until the last finishing phase when it is covered with boards. Installing it is usually easy, but it can be difficult if the floor is uneven or the dimensions aren’t standard. If you want to learn how to install toe kicks on kitchen cabinets, you have come to the right place. We will discuss all the steps in detail. First, to install toe kicks on kitchen cabinets, ensure the floor is leveled. Now, measure and cut the toe kick material to fit the length of the cabinets.
Attach the toe kick to the cabinet legs using screws or clips. Make sure it’s flush with the bottom of the cabinets. If the floor is uneven, you can use shims to level the cabinets before attaching the toe kick. Finally, cover any exposed cabinet supports with the toe kick material. If you find the process overwhelming, you can always have it done by a professional kitchen cabinet and countertop installation company. At Granite Nations, we not only provide exceptional custom cabinets and countertops but also toe-kick installation services at reasonable prices.
5 Ways On How to Install Toe-Kicks on Kitchen Cabinets
Here is how you can install toe-kicks on kitchen cabinets.
1. First, Prepare the Area
First of all, make sure the floor is clean. Wipe away any dirt or debris with a clean cloth. After cleaning the space, measure the length of the cabinet run. Choose the right cabinet that fits the measured length
2. Then Cut the Toe Kick Material
The next step in the toe kick installation process is to measure and mark the toe kick material. This helps ensure it matches the length of the cabinet run. You can use a saw to cut it to size.
3. Now Attach the Toe Kick
Now position the toe kick in front of the cabinets and secure it to the cabinet legs using screws or clips. Ensure it’s level and flush with the bottom of the cabinets. Remember, it is not recommended to use nails or glue to attach the toe kick to cabinets. You can only use clips or screws.
4. Check If the Floor is Uneven
Ensure that the toe-kick is even. You can use a level to do that. Make adjustments if needed, especially if the floor is uneven. This is very crucial in the toe-kick installation process.
5. Finally, Finishing Touches!
Now, the process is done, and it’s time for some final touches. Cover any exposed cabinet legs with the toe kick material and secure it in place. Double-check alignment, remove excess material and debris, and wipe down the cabinets and toe kick. And you’re done!
Conclusion
So this is how to install toe kicks on kitchen cabinets. First, ensure the floor is clean and measure the cabinet run length. Then, cut the toe kick material to size and attach it to the cabinet legs using screws or clips, ensuring it’s level and flush. You should check for evenness and make any necessary adjustments. After that, cover the exposed cabinet legs with the toe kick material and clean up any debris. It is advised to double-check alignment. If you prefer professional assistance, we at Granite Company offer top-notch installation services at affordable prices. So get in touch with us to book an appointment or visit our website for more information.
Frequently Asked Questions
Do you glue or nail-toe kick on cabinets?
Toe kicks on cabinets are attached using screws or clicks. Glue or nails are not used to attach toe kicks on cabinets.
How do you install kitchen kickboards?
To install kitchen kickboards, you first need to measure and then cut the kickboard to size. Then, you can attach it to the base of the cabinets using clips or screws.
How do you attach a toe kick to cabinet legs?
You can attach a toe kick to cabinet legs by first aligning it with the bottom of the cabinets and then securing it with screws or clips.


