
Renovating your kitchen or bathroom with granite countertops can transform your space with elegance and durability. Installing granite on a concrete base requires precision, the right tools, and expert guidance to ensure a flawless result. At Granite Nations, we specialize in seamless granite countertop installations tailored to Pickering homeowners’ needs. This comprehensive guide provides step-by-step instructions, updated for 2026, to help you install granite countertops on concrete, along with expert tips, trends, and FAQs to ensure a successful project.
1. Why Choose Granite for Concrete Bases?
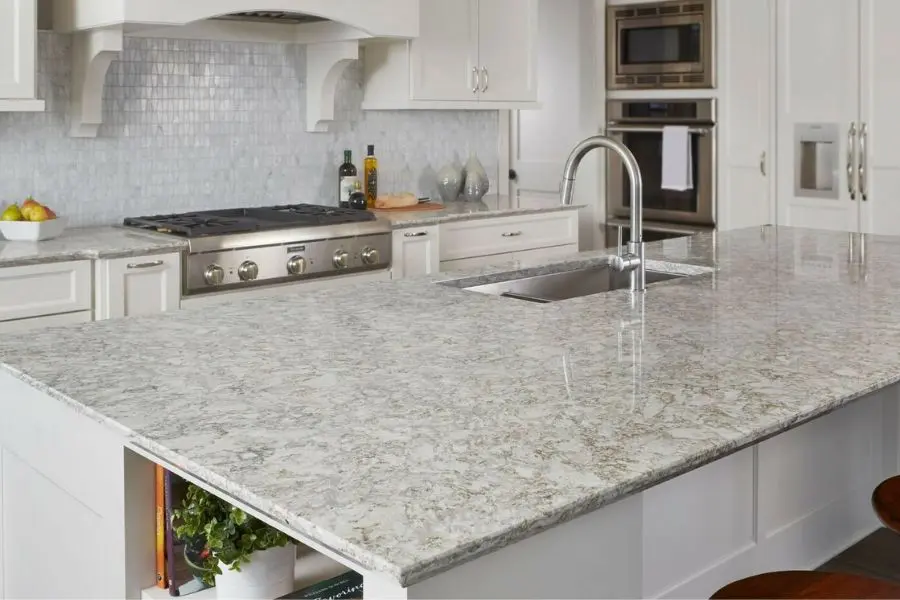
Granite countertops offer unmatched durability, heat resistance, and timeless beauty, making them ideal for kitchens and bathrooms with concrete bases. Their natural patterns and robust structure enhance aesthetics while ensuring longevity. Installing granite on concrete requires careful preparation to avoid damage and ensure a secure bond. Granite Nations, with over eight years of GTA experience and a 4.8-star rating, ensures professional results that elevate your space.
2. Step-by-Step Instructions to Install Granite Countertops on Concrete
Follow these detailed steps to achieve a professional-grade installation, ensuring both functionality and style for your 2026 renovation project.
2.1. Select a Suitable Vendor and Set a Budget
Start by researching reputable vendors like Granite Nations. Compare pricing, material quality, and services such as custom cutting and installation. Granite countertops typically cost $60–$120 per square foot, with installation adding $20–$40 per square foot. A 50-square-foot kitchen countertop ranges from $4,000–$8,000. Set a budget that accounts for material, labor, and additional features like edge styles. Granite Nations offers financing and free quotes via our contact page to keep your project affordable.
2.2. Choose the Right Type of Granite
Select granite that complements your kitchen or bathroom design. Granite comes in various colors (black, white, beige) and patterns (veined, speckled), offering versatility for modern or classic aesthetics. Consider reasons to choose granite, such as its durability (Mohs scale 7), stain resistance with sealing, and ability to boost home value by up to 7%. Visit our color gallery to explore options that match your style.
2.3. Gather the Appropriate Tools and Equipment
Ensure you have the right tools for a safe and precise installation:
- Caulk gun and silicone caulk
- Personal protective gear (gloves, goggles, earplugs)
- Wet saw with a diamond blade
- Circular saw
- Measuring tape and level
- Sandpaper (for leveling concrete)
- Construction adhesive
- Support brackets or plywood (if needed)
Granite Nations provides professional-grade tools and expertise to streamline the process.
2.4. Clear Away Previously Installed Countertops
Carefully remove existing countertops to preserve the concrete base. Use a utility knife to cut along edges where the countertop meets the base. If firmly attached, gently pry it off with a crowbar, avoiding damage to the concrete. This step is critical to prevent issues during granite installation, as a damaged base can compromise stability, as noted in our guide on avoiding granite countertop issues.
2.5. Accurately Measure the Concrete Slabs
Precise measurements ensure a perfect fit:
- Use a measuring tape to record the concrete base’s length, width, and depth.
- Account for obstacles like sinks, corners, or appliances.
- Double-check measurements to avoid costly errors.
Granite Nations uses advanced tools for exact measurements, ensuring a seamless fit.
2.6. Reinforce and Secure the Concrete Base
Prepare the concrete base for granite installation:
- Clear debris and clean the surface thoroughly.
- Level the concrete with sandpaper or a grinder to ensure a flat surface.
- Assess if additional support, like plywood or brackets, is needed for heavy granite slabs (typically 3/4 to 1-1/4 inches thick).
This step ensures the base can support the granite’s weight (approximately 13–20 pounds per square foot) for long-term durability.
2.7. Carefully Cut the Granite
Granite cutting requires precision and safety:
- Transfer measurements to the granite slab, verifying accuracy.
- Use a wet saw with a diamond blade for clean cuts, following safety protocols (gloves, goggles).
- Cut slowly to avoid chipping or cracking the granite.
- Partner with Granite Nations for pre-cut slabs or on-site cutting by our skilled team.
Our experts ensure precise cuts tailored to your kitchen or bathroom layout.
2.8. Check the Fitting of the Slabs
Before securing, dry-fit the granite slabs on the concrete base. Check alignment, ensuring edges and corners match perfectly. Make minor adjustments, such as trimming with a diamond blade, if needed. This step prevents issues during final installation, ensuring a snug fit.
2.9. Apply Adhesive on the Concrete
Use high-strength construction adhesive designed for heavy materials:
- Apply adhesive evenly across the concrete base using a caulk gun.
- Focus on edges and key support areas for a secure bond.
- Work quickly to position the granite before the adhesive sets.
Granite Nations uses premium adhesives to ensure a lasting bond.
2.10. Place and Secure the Granite Slab
Carefully lower the granite slab onto the adhesive-coated concrete base:
- Press firmly to ensure even contact.
- Use a level to confirm the slab sits evenly, adjusting as needed.
- Place heavy objects (e.g., weights) on the slab to secure the bond during curing (24–48 hours).
This step ensures the granite remains stable and durable for decades.
2.11. Seal the Granite Countertops
Sealing protects granite from stains and moisture:
- Choose a high-quality granite sealer and follow manufacturer instructions.
- Apply the sealer evenly with a clean cloth, covering the entire surface.
- Wipe off excess sealer after 15 minutes to avoid residue.
- Allow the sealer to dry for 24 hours before use.
Granite Nations provides sealing services to maintain your countertop’s pristine condition.
3. Why Professional Installation Matters
Granite slabs are heavy and prone to damage without proper handling. DIY installation risks cracks, misalignment, or safety hazards. Granite Nations, with a 4.8-star rating, offers expert installation from top suppliers in Toronto, ensuring precision and durability.
4. 2026 Trends for Granite Countertops
Enhance your installation with these trends:
- Matte Finishes: Black or gray granite for a modern look.
- Veined Patterns: Marble-like elegance with natural variation.
- Neutral Tones: White or beige for timeless appeal.
- Waterfall Edges: Seamless, luxurious designs.
- Eco-Friendly Sourcing: Sustainably quarried granite.
Explore more at Bob Vila’s guide.
5. Cost Considerations
Granite countertops cost $60–$120 per square foot, with installation adding $20–$40. A 50-square-foot project ranges from $4,000–$8,000, including sealing ($20–$150 annually). Opt for standard sizes or simpler edges to save. Granite Nations offers transparent pricing and financing options via our contact page.
6. Facts About Installing Granite on Concrete
- Costs range from $60–$120 per square foot.
- Requires strong construction adhesive for bonding.
- Sealing every 12–18 months prevents stains.
- Granite lasts 30+ years with proper care.
- Granite Nations offers over 200 slab choices.
- Matte finishes dominate 60% of 2026 designs.
- Installation takes 1–3 days, fabrication 3–7 days.
- Concrete bases must be level and debris-free.
- Boosts home value by up to 7%.
- Granite Nations has a 4.8-star rating from GTA clients.

7. Frequently Asked Questions (FAQ)
Can granite be installed on concrete?
Yes, granite can be installed on concrete using strong construction adhesive and weights to ensure a secure bond.
How is granite attached to cabinets?
Construction adhesive is applied to cabinet edges and granite undersides, ensuring a firm bond during installation.
Is granite easy to install?
Granite’s weight and fragility make DIY installation challenging; professional installation by Granite Nations ensures precision and safety.
What tools are needed for granite installation?
Wet saw, diamond blade, caulk gun, adhesive, level, and protective gear are essential for a successful installation.
Why choose Granite Nations?
With a 4.8-star rating, we provide premium granite, expert installation, and tailored solutions for your kitchen or bathroom.
8. Safety and Maintenance Tips
- Safety First: Wear gloves, goggles, and earplugs during cutting to avoid injury.
- Level Base: Ensure the concrete is flat to prevent uneven stress on the granite.
- Regular Sealing: Apply sealer annually to maintain stain resistance.
- Clean Properly: Use mild soap and water to avoid damaging the granite’s finish.
9. Why Granite Nations?
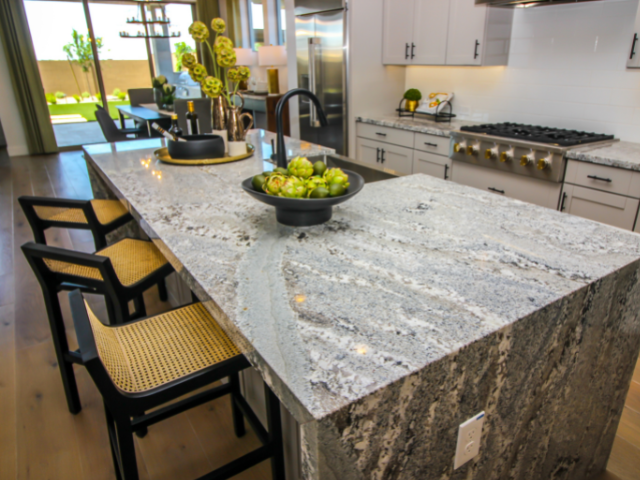
Granite Nations, based in the GTA, combines expertise with premium materials from trusted suppliers in Toronto. Our 4.8-star-rated service ensures precise measurements, professional cutting, and secure installation, delivering stunning results that last. We guide you from slab selection to final sealing, making your renovation seamless.
10. Conclusion
Installing granite countertops on a concrete base enhances your kitchen or bathroom with durability and elegance. By following these steps—selecting a vendor, choosing granite, preparing the base, and securing the slab—you can achieve a professional-grade result. Partnering with Granite Nations ensures expert guidance, premium materials, and flawless installation. Contact us at 647-274-2047 or visit our showroom at 20 Venture Drive, Unit 14, Scarborough, ON, for a free quote. Transform your space with granite countertops in 2026!
Granite Nations — Serving Durham Region & GTA
We supply & install granite, quartz & kitchen cabinets across Durham Region & GTA. Free in-home quotes. Call 647-274-2047
- Granite Countertops Scarborough
- Quartz Countertops Scarborough
- Granite Countertops Ajax
- Quartz Countertops Ajax
- Granite Countertops Pickering
- Quartz Countertops Pickering
- Granite Countertops Whitby
- Quartz Countertops Whitby
- Granite Countertops Courtice
- Quartz Countertops Courtice
- Custom Kitchen Cabinets GTA
- All GTA Service Areas